
How to setup spam blocker with Akismet
The internet is full of spammers… on Facebook, YouTube, and even on WordPress blogs. Thankfully there are powerful tools built into Clients on Automation Software to keep your blog from spam attacks. Akismet is the defacto spam blocker for WordPress and can be set up in minutes.
NOTE: You can also turn comments OFF on your blog post by going to Posts > All Posts > Quick Edit
Step 1: Log into your Clients on Automation Software back office.
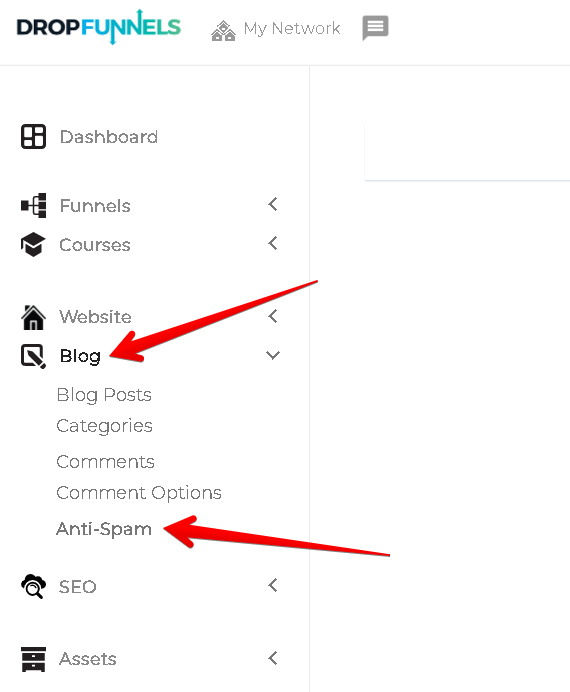
Step 2: Navigate to Blog > Anti-Spam (this action will open the Akismet Anti-spam set-up page).
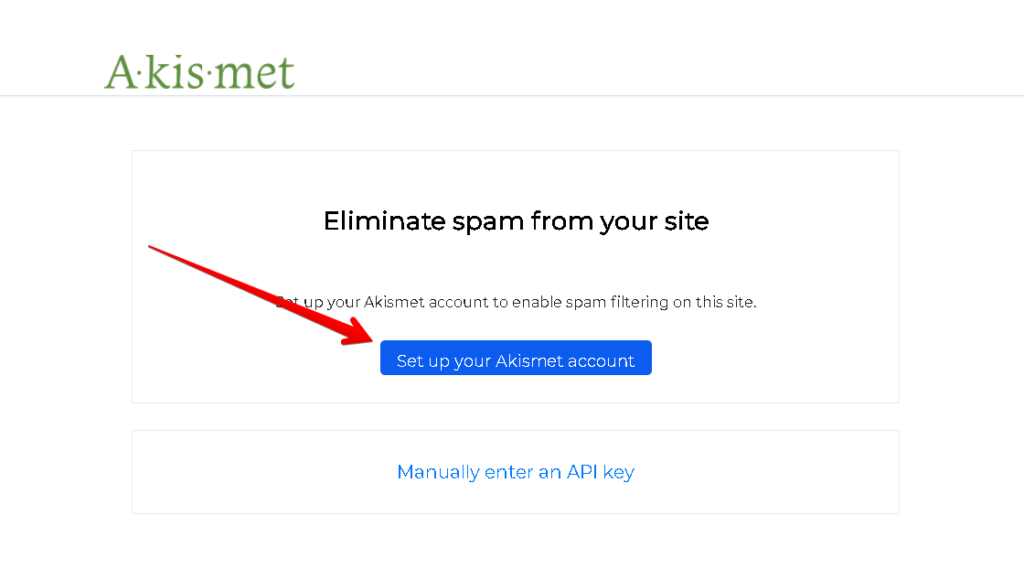
Step 3: Click the Set up your Akismet account, or if you already have a WordPress.com account, you can choose to enter your API key manually.
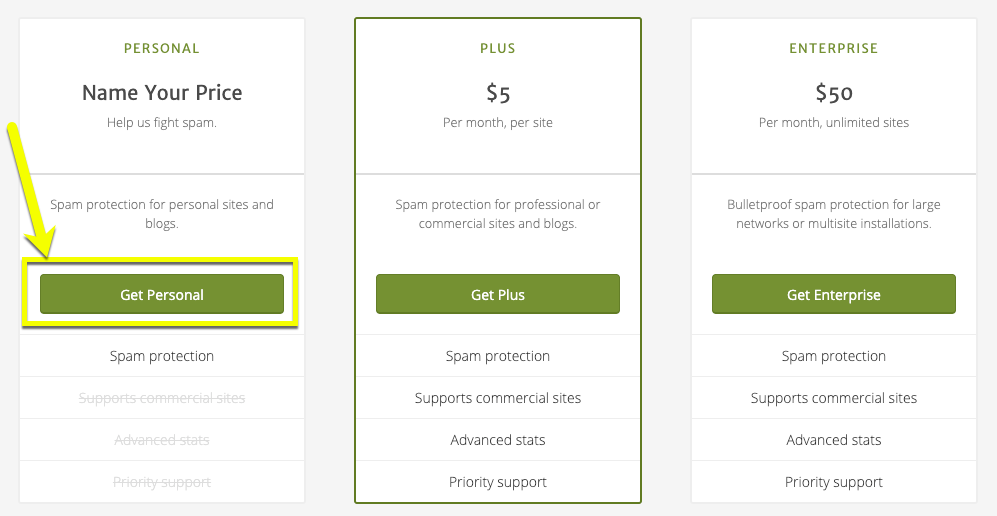
Step 4: Select the plan that best fits your needs. If you are using Akismet on your site for personal use, you can select the Personal plan.
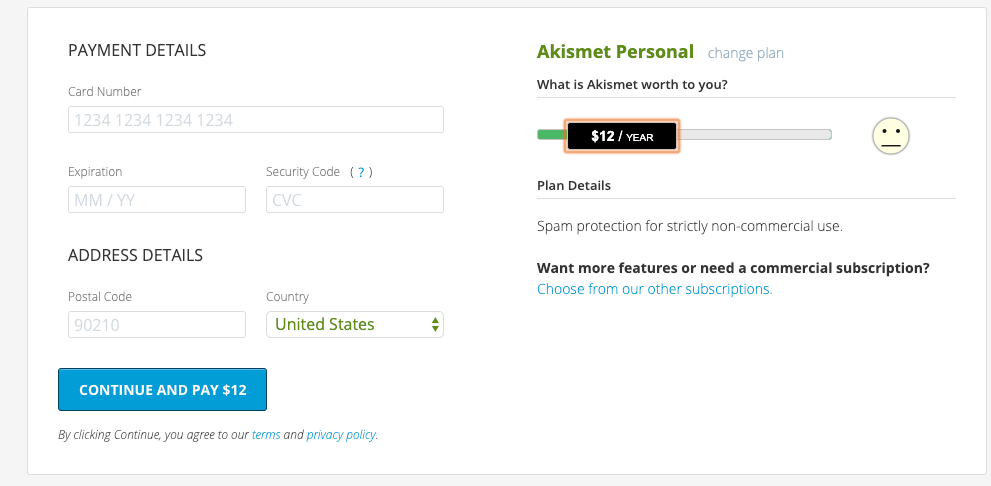
Step 5: If choosing a personal plan, you have the option to support Akismet by using the slider payment plans below. If you choose $0, you will have to agree to certain terms. Again, please choose your plan accordingly.
Step 6: Once you have checked out on the Akismet website, you will be taken to your Account Overview page. Copy your AKISMET API KEY.

Step 7: Inside your Clients on Automation Software back office, paste your API key and click Connect with API key

Step 8: Once successfully connected, you will have additional options that you can personalize for your site.

You have successfully added the Akismet spam protection to your site!